A: Technology has been the most important feature of my product this year. From the initial research to the final edit of my five-minute film, new technology has played a vital role in my work. Firstly, I have used the Internet, using a Blog to exhibit my work and research in a creative format. My blog had multi-media, featuring text, external link, a collection of borrowed and original photos and even videos, both from YouTube and of my own creation. The Internet was vital for my research, in particular to find examples viral advertising, where I found many examples such as images and interactive website. The Internet also provided opportunities from audience research, as I used the social network site Facebook to gain information through a digital questionnaire via Chat. It enabled me to get a broad audience feedback. I did however encounter problems when uploading my own video’s to YouTube as our college provides only a restricted bandwidth for uploading, but after consulting my tutor the problem was soon fixed. I also used a variety of software on Mac computers throughout my project. I used Celtx to write the script, Word to create a shooting script, Photoshop Elements to create a banner and Production Company Logo, and ArtTextLite and Paint to create our title. We also used websites like eBay, as we created a fake page advertising the prop remote used in film. Photoshop Elements allowed me to use a range of features to edit different layers, much like Final Cut but for images. I could create a background and build onto it with different layers, like imported images, text layers and then clip art. For sound editing in our film, we used a combination of Garage Band and Final Cut together to create an interesting effect on the sound effect of rewind me used to make it sound echoed, and to compile the sounds effects, music and soundbites effectively.


New technology was a big part of the production stage of my film with the equipment used. We filmed using a high definition camera, which enabled us to create a more crisp image. I also gained experience using a Zoom Recorder to create original audio for a voiceover. These details helped to create a more technical and advance final product than in my Foundation year. I was however forced to change elements of my film due to restrictions caused by technology, in particular with focus. Our camera uses a spinning ring to focus, rather than a linear ring, which made it very difficult to focus on objects very close to the camera and also when pull focusing. I was forced to remove a pull focus shot from our film and replace it with a simple medium shot of two characters instead. I also found that the camera and tripod restricted me from filming in a confided area, in particular when I was filming in a bathroom that had little space to fit the camera plus various mirrors. To overcome this, I included two hand held shots rather than using the tripod.


To edit the film, we used Mac computers and various software such as Final Cut Express to edit footage and Photoshop Elements for poster design. I also used other software such as using Celtx to create a formatted script. To show creativity, we created our viral advertisement idea to be featured briefly in our film itself. We used Final Cut Express to edit our advert together. I created images for the advert on Photoshop elements which was imported onto Final Cut, where we also added moving text and copyright free sounds from a website. It combined all our new skills together and allowed us to experiment with the features of Final Cut Express before editing our final product, such as altering speed and reversing the images to play backward. In particular, I did the majority of editing in the group on our final product, which involved trimming shots, importing voiceover audio and copyright free sound effects, applying various transition and reversing visuals and audio. I was also responsible for altering the colour and brightness of several shots and also adjusting audio levels. Here is the step by step process I had to complete for each shot to edit the colour and overall brightness of the shot, (Click to Enlarge). First I selected the shot and clicked the filters tab. I then dragged in a Brightness and Contrast filter and adjusted the levels of each. Then I added a colour filter and added more white and blue to countert the overly-yellow image. You see the end result on the final photo.


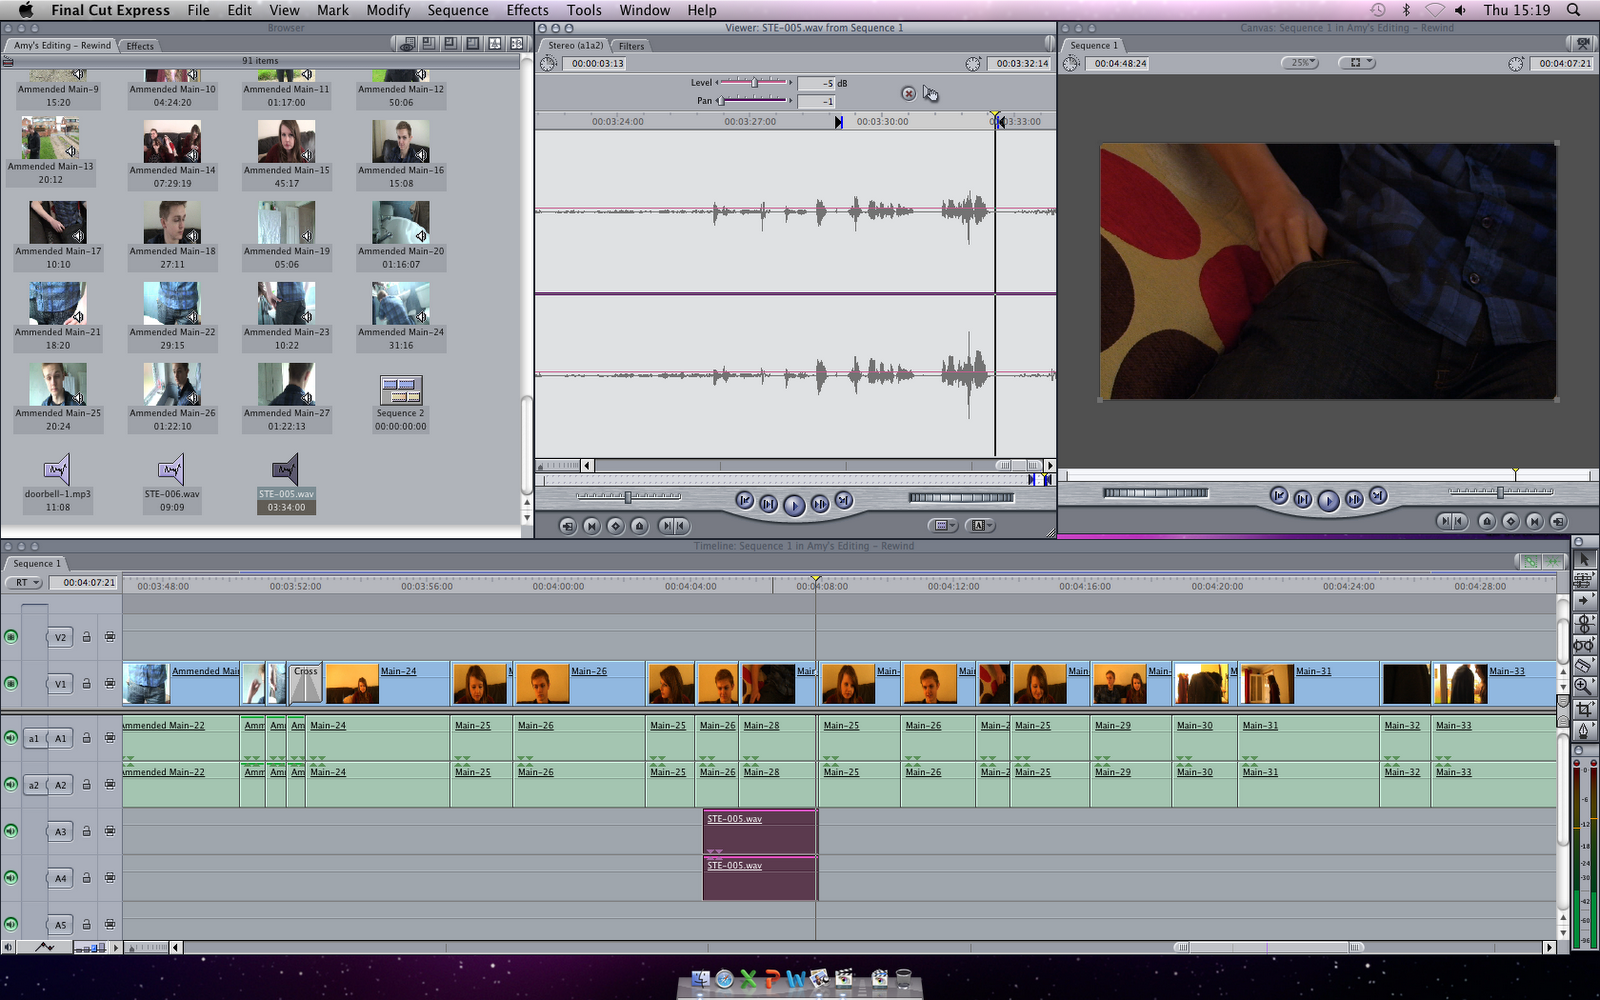
I was also had to alter the audio levels of some shots, for example when adding our voiceover recordings. Here, I altered the Level from 0db to -5db and the Pan from 0 to -1, making the recording quieter.

Some shots were also adjusted using the framewire feature to edit their composition on screen. Below is an example, while I was creating the title sequence which involved editing the wire frame of nine video clips on separate layers. When I decided how big the first would be, I simply copied the number in the "Scale" box on the "Motion" tab so they would all be the same dimension.


When creating the radio trailer on Final Cut Express and also used Garage Band to edit sound. We selecting a scene which gave a good representation of the plot and themes of our film, selecting the audio to make a sequence (this was now a sound bite), then we added a recorded voiceover which said our tagline, then adding a final layer of music from our film to give the advert synergy to our film. Final Cut made the process very easy as if was easy to cut each audio on its own individual layer. We could also edit the level of volume on each audio to make the voiceover and sound bite over power the music volume. We wanted to add a distorted and echo sounding rewind sound effect, and use Garage Band to alter the sound, then adding it back to Final Cut to make the final product.

Our poster design was created on photoshop, using original photos and images that were royalty free. We created a friendly colour scheme to make the advert inviting to show the air of romance in our film, but also had a comedy theme with the context of the actors and what they were doing. We able to edit a photo of our actor into the screen of a television, appearing trapped by using the Photoshop "lasso" tool to remove the background and a "blur" tool to blend them in, giving the final piece a professional feel.


No comments:
Post a Comment